

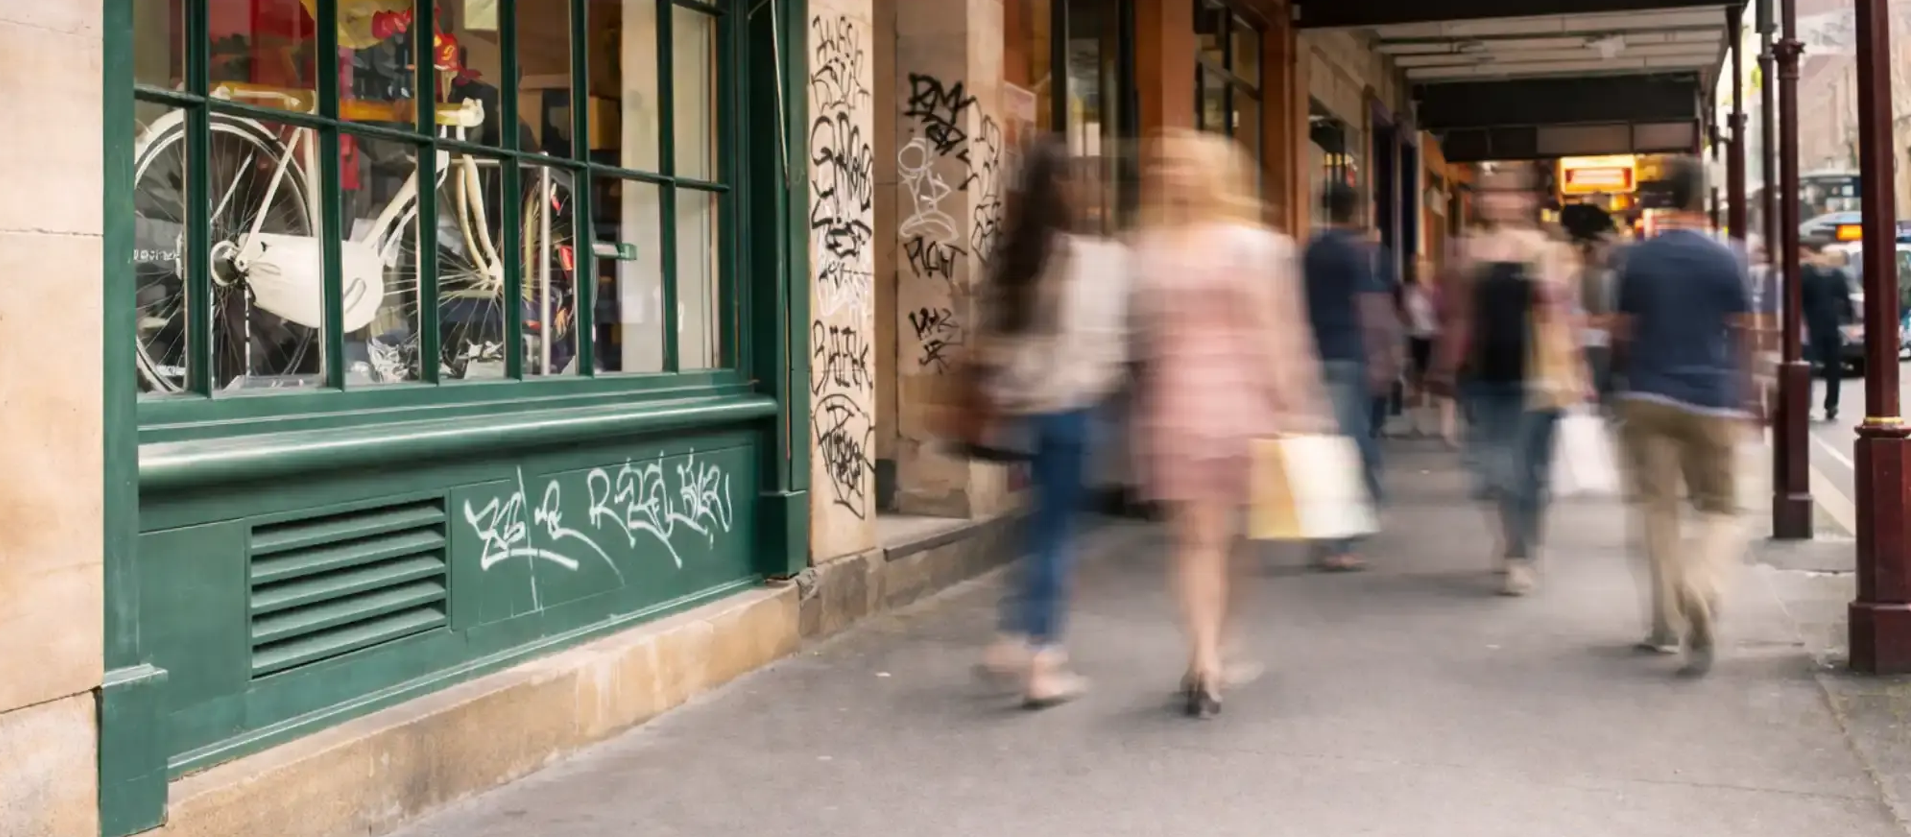
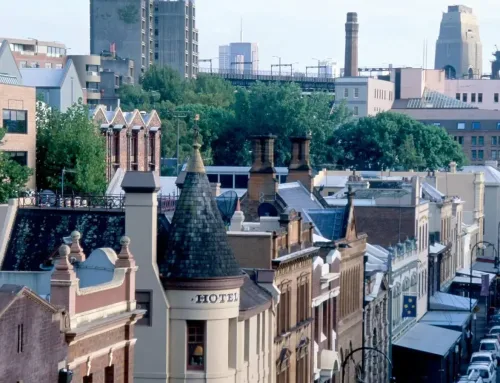
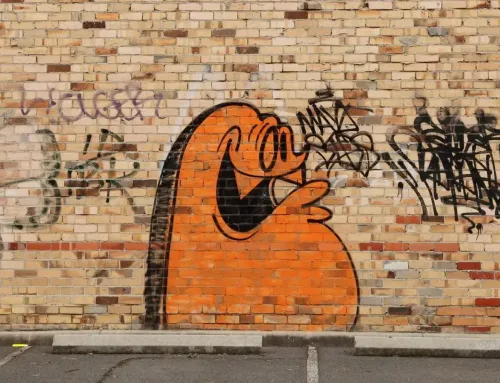
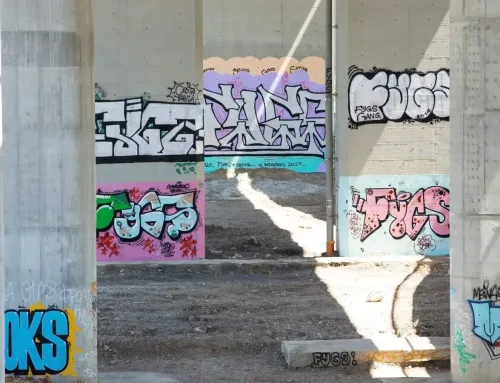
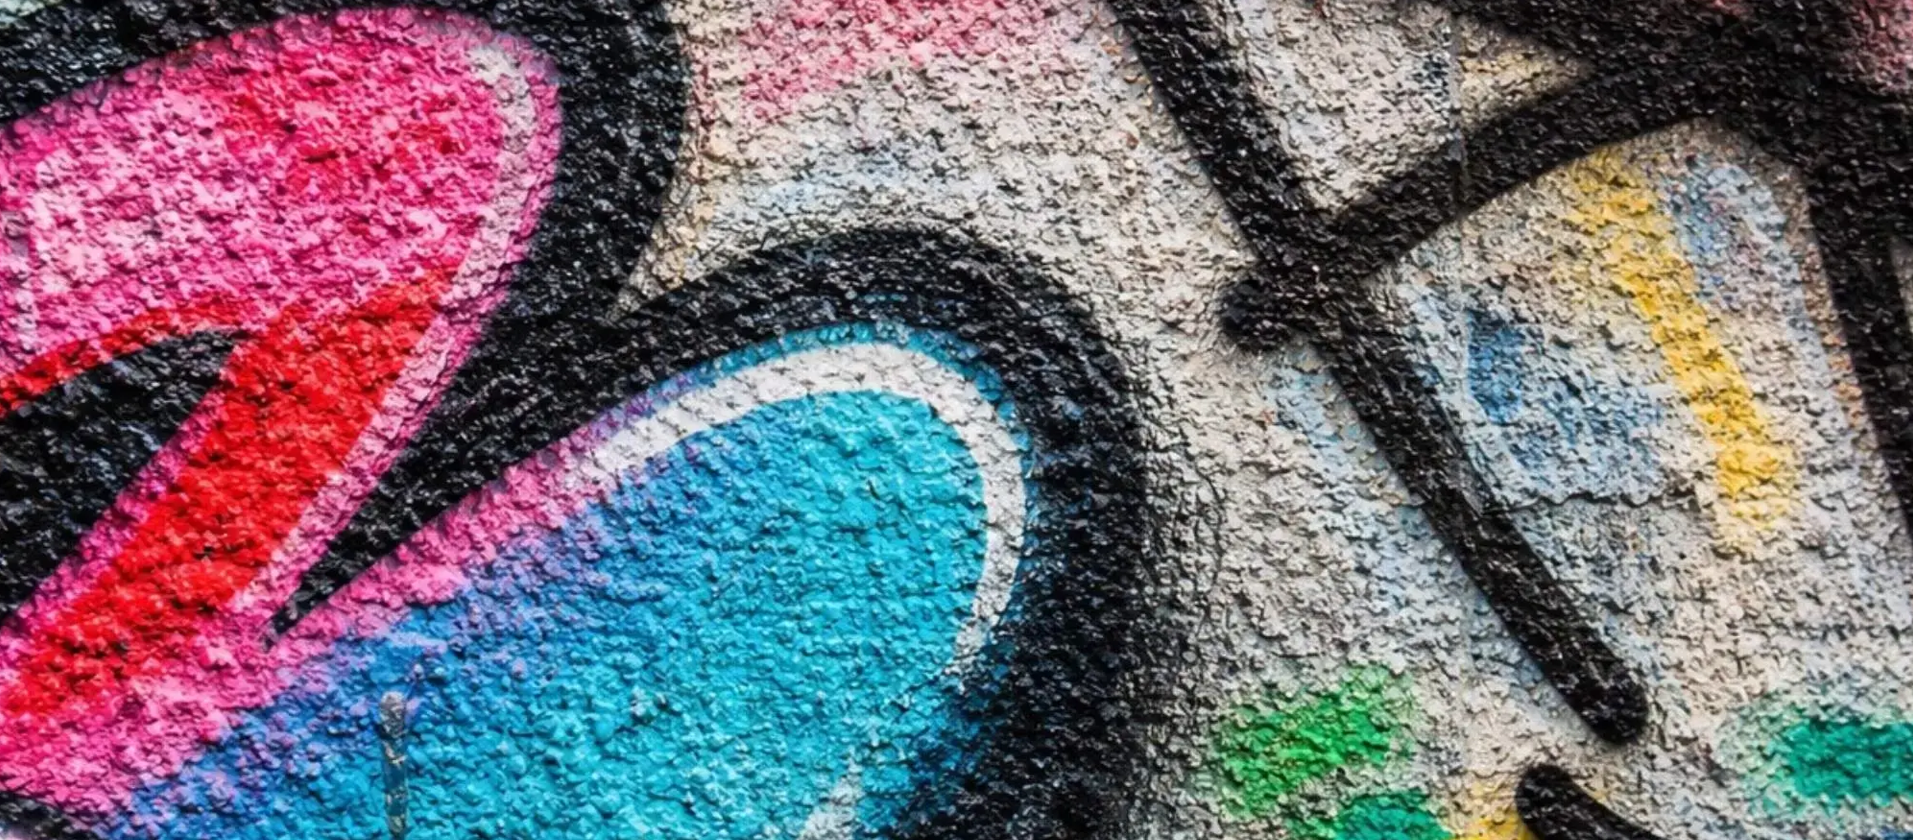
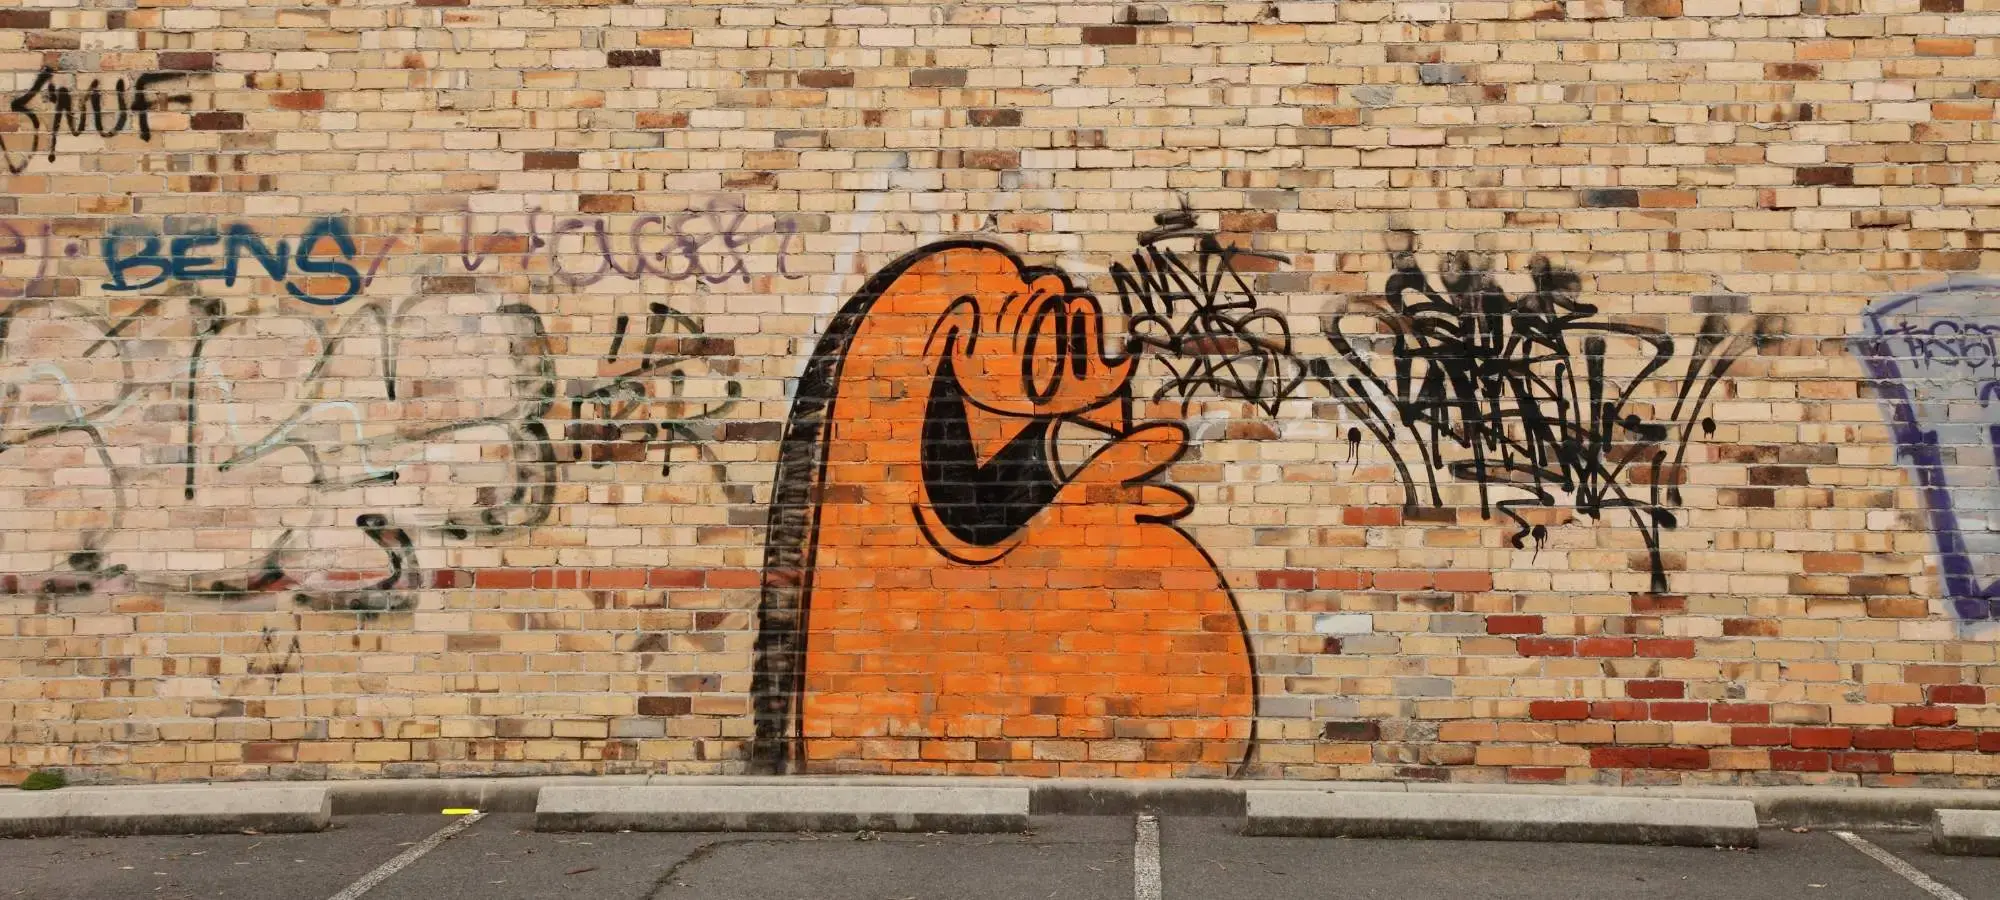
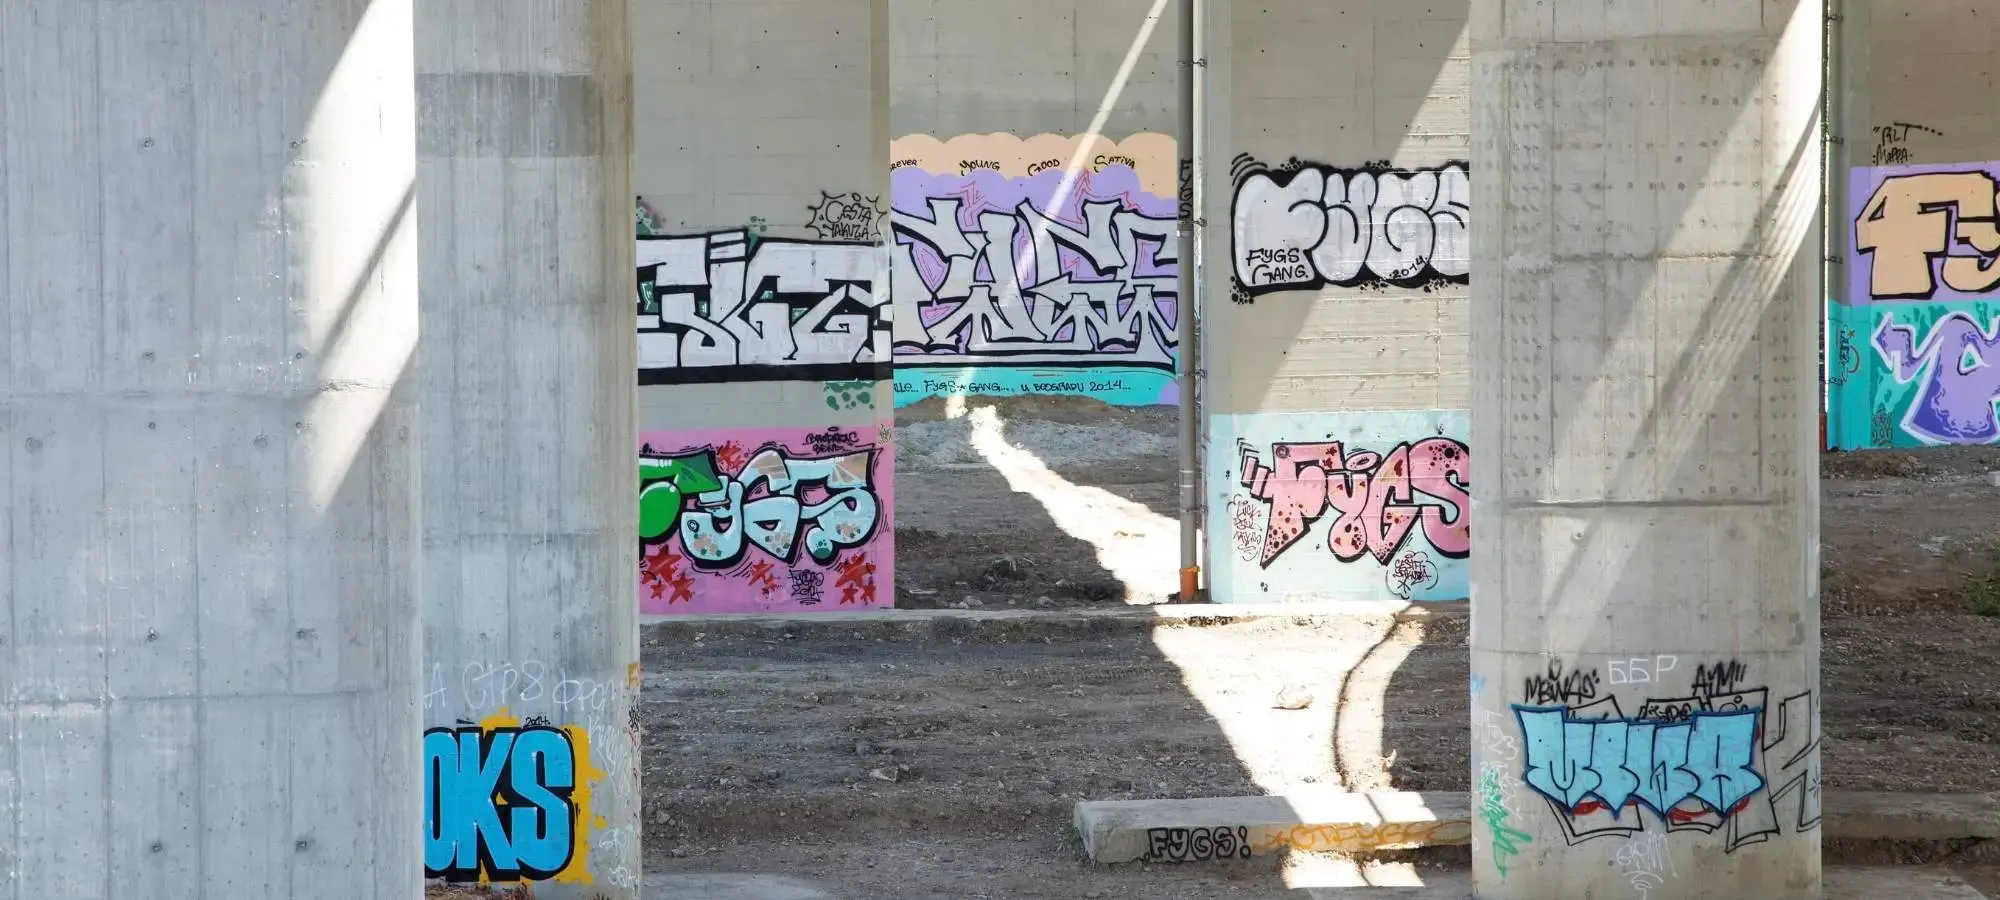
Walk past almost any busy commercial building and you’ll see it. Roller doors tagged overnight. Brick walls covered in marker. Concrete panels hit again and again.
The first reaction from property owners is often practical, but impulsive: buy a tin labelled “anti-graffiti coating,” roll it on, and hope for the best.
But on commercial sites, that approach usually fails.
And it’s not because protection doesn’t work. It does. It fails because most DIY products aren’t built for what commercial sites throw at them—repeated tagging, porous masonry, and cleaning methods that would strip a light-duty coat in one go.
The difference between hardware-store paint and a commercial anti-graffiti coating
Not all products sold as “anti-graffiti” are the same.
Many retail paints are single-pack clears or modified acrylics. They can slow down absorption on smooth, previously painted walls. But they are rarely designed for repeated graffiti removal, pressure cleaning, or harsh solvents.
A properly specified anti-graffiti coating is designed so graffiti sits on top, not in the wall. And when you clean it correctly, the coating stays put and keeps working. That’s the difference between a surface that survives one clean and a surface that survives years of tagging.
On high-traffic commercial buildings—retail strips, schools, transport corridors—you need a system that tolerates repeated cleaning without thinning, chalking, or peeling.
A thin DIY layer rarely does.
If you want to see how professional systems are structured, our anti-graffiti coating service page outlines the specification approach used on infrastructure and commercial assets.
Surface prep shortcuts cause early failure
Most coating failures start before the first brushstroke.
Commercial substrates are rarely clean and uniform. Common issues include:
- Residual graffiti shadows
- Oil or traffic film
- Efflorescence on brick or blockwork
- Old flaking paint
- Micro-cracks in concrete
DIY applications often skip proper preparation. A quick wash. Maybe a light sand. Then straight to coating.
If the surface isn’t sound, the coating won’t bond properly. Graffiti removal often relies on solvents or hot water, and once this starts, the weakly bonded film lifts, blisters, or peels.
Suddenly you’re not just dealing with tagging. You’re dealing with coating failure across the façade.
Professional specifications include substrate testing, moisture checks, and compatibility assessments before anything goes on the wall. It takes longer. But it’s also why the coating is still working two years later.
Porous substrates allow graffiti stain bleeding through
Brick, blockwork, and textured coatings are common on commercial properties. They’re also porous.
When a surface isn’t sealed correctly, paint and marker inks soak deep into the substrate. Even after cleaning, a shadow remains. It’s a graffiti stain bleeding through.
The DIY coating might look clear and glossy on day one. But if it hasn’t penetrated and sealed the pores correctly (or if it’s incompatible with the substrate) the graffiti bonds beneath it.
You clean the top layer, but the stain stays.
Done properly, the process has four steps:
- Assessing surface porosity.
- Selecting a compatible primer or sealer.
- Confirming system compatibility with the substrate.
- Applying the correct clear anti-graffiti system at the specified film build.
Skipping the first two is where most DIY projects go wrong.
On infrastructure assets such as noise barriers and bridge abutments, we often integrate anti-graffiti systems over textured coatings. You can see how substrate and system selection interact on projects like noise barrier wall painting.
Wrong system choice: why the coating stops working
A common complaint from commercial owners is that their anti-graffiti paint is not working. Usually, the product did exactly what it was designed to do. The issue is that it was the wrong product for the exposure level.
There are two broad categories. Sacrificial systems are removed during cleaning and reapplied. Non-sacrificial anti-graffiti coatings stay in place after cleaning.
On low-risk residential walls, a sacrificial option may be fine. On commercial sites cleaned multiple times a year, it becomes impractical. Each removal cycle reduces protection. Miss a recoat, and the substrate is exposed.
In some cases, DIY users apply a coating intended for painted plasterboard onto raw masonry. Or a light-duty clear onto a wall that will be hit with solvent cleaners.
The result? Early breakdown. Clouding. Softening. Patchy sheen.
The product label wasn’t wrong. The specification was.
If you’re unsure how systems differ, this explainer breaks down how anti-graffiti paint works in more detail.
Cleaning methods can destroy a DIY finish
Commercial graffiti removal isn’t gentle.
Contractors may use:
- Hot water pressure cleaning
- Solvent wipes
- Chemical graffiti removers
- Mechanical agitation
If the applied coating isn’t rated for those cleaning agents, it softens or abrades away.
This is where many DIY jobs unravel. The coating looked fine until the first serious graffiti removal. Then it dulled. Or went patchy. Or lifted around the edges of the tag.
Now the property owner is paying twice—once for the product, and again for re-coating.
Proper systems are tested for chemical resistance and abrasion tolerance. And that testing counts on sites exposed to frequent removal of graffiti.
Commercial property graffiti protection needs a lifecycle plan
Protection isn’t just about applying a coating. It’s about managing the full cycle.
How often is the building tagged? Who is responsible for graffiti removal? What cleaning agents are used? How quickly is removal carried out?
Without a plan, even a good coating can underperform.
It works best when you clean fast, use the right removers, inspect regularly, and catch worn patches before they become a full recoat job.
This is especially true on high-profile assets such as tunnels and transport infrastructure, where visibility and appearance standards are strict.
The coating is one part. And the maintenance approach is the other.
What works on high-exposure sites
The systems that hold up on commercial sites have a few things in common. They’re matched to what’s on the wall. Tested against the cleaners your contractors use. Applied at the right thickness. And whoever cleans the building knows what they’re working with.
Most importantly, they’re specified for the real conditions on site, not the ideal ones on a product brochure.
DIY can work on small, low-risk areas. But once you’re dealing with repeated tagging, porous masonry, and commercial cleaning cycles, you need more than a tin from a shelf.
If you’re assessing options, book a site assessment and get advice based on your substrate and exposure level.
Frequently asked questions
What causes graffiti stain bleeding through?
Graffiti stain bleeding through happens when inks penetrate porous substrates such as brick or blockwork before a proper sealer or anti-graffiti coating is applied. Cleaning removes surface paint, but the absorbed pigment remains below. Correct sealing and system selection prevent deep absorption in the first place.
Why isn’t my anti-graffiti paint working on brick walls?
Brick is highly porous. If the coating wasn’t designed for masonry, or if the wall wasn’t sealed correctly, graffiti can soak beneath the film. Cleaning may then damage the coating without removing the stain. A masonry-compatible anti-graffiti coating system is usually required.
Is professional graffiti removal different from DIY cleaning?
Yes. Commercial graffiti removal often uses stronger chemicals and hot water systems. DIY coatings may not withstand those methods and can break down after the first clean. Professional systems are chosen based on expected cleaning agents and frequency of removal of graffiti.
Book a site assessment. Send photos or plans and we’ll advise on the right anti-graffiti coating system for your commercial property.